
As much as the facilities we sell to don’t want to worry about a system malfunctioning, we don’t want to worry about it either. We tell our customers that the C-Arms we sell are in “like-new OEM Spec condition” which in laymen’s terms means fully functional and cosmetically perfect. If we sold systems that weren’t in that condition, our customers would go straight to the manufacturer to fill their C-Arm needs.
Some of you may remember this blog we posted a few years ago- Refurbishing a C-Arm Inside & Out
If you haven’t read it, now is as good a time as any to check it out. The purpose of this blog is to give you a step-by-step look into the entire C-Arm refurbishment process in the exact order that we do it.
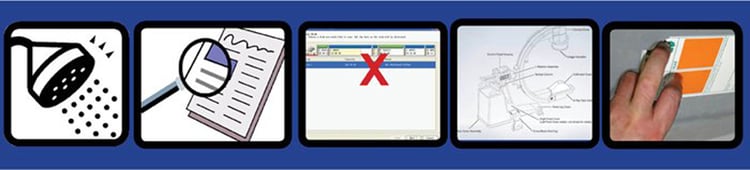
- When a C-Arm arrives at our facility, the system is externally cleaned and disinfected
- System is fully tested and a corresponding report is generated. If the C-Arm has any issues they are diagnosed at this time. Those issues will either be repaired immediately or will be noted on the report if it is more practical to repair the issue after the system is dismantled.
- Any pre-existing patient data and/or images on the C-Arm will be removed prior to refurbishment.
- C-Arm is dismantled and any additional problems found are repaired or noted on report for repair at a later point in time. Monitors and Batteries are disposed of. -
- C-Arm is internally cleaned and disinfected.
- Subassemblies are dismantled, disinfected and move to various service areas based off which part of the system the part is located
- All hospital labels, tape, adhesive, etc… are removed.
- Dismantled covers, latches and moldings are moved to the sanding and painting booths.
- Dents are removed or filed, scratches are sanded out or filled and then a primer coat is applied.
- Two coats of high quality polyurethane paint are applied.
- After a 24-hour curing period, painted part and components are brought back to their designated reassembly areas.
- Wheels and casters are checked, cleaned and replaced if necessary
- C-Arm and Monitor cart are reassembled. If system has CRT monitors, the old monitors are replaced with new ones.
- All locks, handles and brakes are adjusted or replaced if necessary
- All switches, connectors, breakers and fuses are checked and replaced if necessary
- The foot-switch cable is checked adjusted and replaced if necessary
- High voltage cables are cleaned and new grease is applied
- X-Ray tube is checked for excessive bearing noise and tungsten build-up on the outlet port. If the X-Ray Tube doesn’t meet our specifications it will be replaced with one that does.
- X-Ray Beam alignment and collimator calibration is performed
- Video Camera system and image intensifier are focused and adjusted to highest achievable resolution levels.
- Image Intensifier is checked for artifacts and replaced if necessary.
- C-Arm monitor cart power settings are adjusted to specifications
- C-Arm batteries are replaced and battery charger voltage is adjusted to specifications.
- X-Ray generator system calibration is performed and report is generated.
- Video monitor geometry is set-up and settings are adjusted as needed with current service software.
- Corroded fasteners are replaced most often with stainless steel hardware
- System is thoroughly tested and all functions are checked
- If system has vascular capabilities, vascular operational features are checked.
- If system has DICOM, DICOM capabilities are checked.
- Dose output is set to meet FDA regulations and a report is generated
- C-Arm is burned in for 24 hours to ensure complete functionality
- C-Arm is packed, skidded or crated per customer request.
As you can tell, our process is very thorough. We feel that anything less is not a suitable refurb and we would put our refurbishment process up against any company in the industry. If you have further questions on the refurbishment process please Contact Us Today!
Some blogs you may have missed:
Meet the author: Alex Silbergleit